# Downloading & Installation
This initial guide will walk you through getting the application onto your computer and ready for your first login. The process is a standard application installation, similar to other software you use every day.
***
## **A Quick Note on Windows Security (SmartScreen Warning)**
When you first run the AICORA\_Setup.exe installer, you might see a blue pop-up from Windows Defender SmartScreen that says **"Windows protected your PC"**.
**Please do not worry. This is standard behavior for new applications that have not yet built a long-standing reputation with Microsoft.**
Our application is completely safe and code-signed. To proceed with the installation, simply follow these two steps:
1. Click the **More info** link within the pop-up.
2. A new button, **Run anyway**, will appear. Click it to start the AICORA installation.
We are actively working with Microsoft to have AICORA recognized, which will remove this warning in future updates. **Your security is our top priority.**
## **Step 1: Download the AICORA Client**
1. Navigate to our official website: [**aicora.net**](https://www.google.com/url?sa=E\&q=https%3A%2F%2Faicora.net)
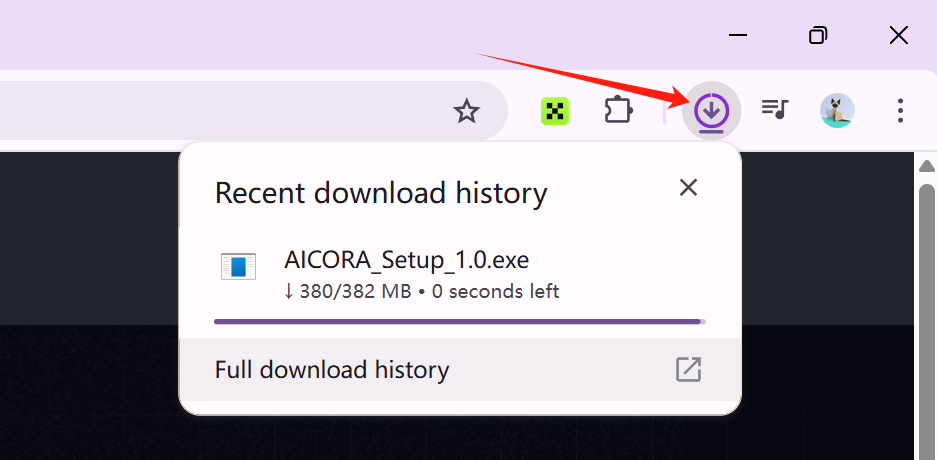
2. On the homepage, click the prominent **DOWNLOAD FOR WINDOWS** button. Your browser will begin downloading the application installer, AICORA\_Setup\_\[version].exe.
## **Step 2: Installing the Application**
Now we'll run the installer. This is a straightforward process, but we have one important recommendation.
1. Locate the downloaded file (AICORA\_Setup\_\[version].exe) in your computer's "Downloads" folder and double-click it to begin the installation.
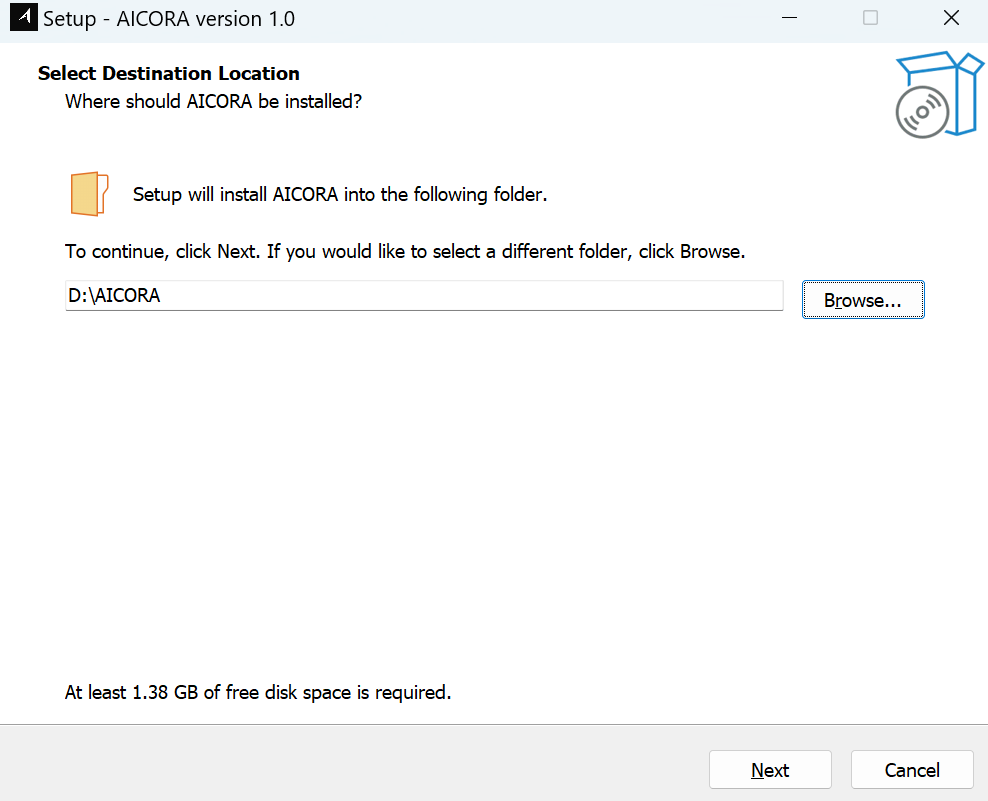
2. **Select Destination Location:** The installer will ask where you want to install AICORA.
> **⚠️ Important Recommendation:**\
> \
> We **strongly recommend** installing AICORA on a drive other than your main C: drive (for example, D:\AICORA). This can help prevent potential permission issues and ensures AICORA's data files don't clutter your system drive. \
> \
> Click **Browse...** to select a new location, then click **Next**.
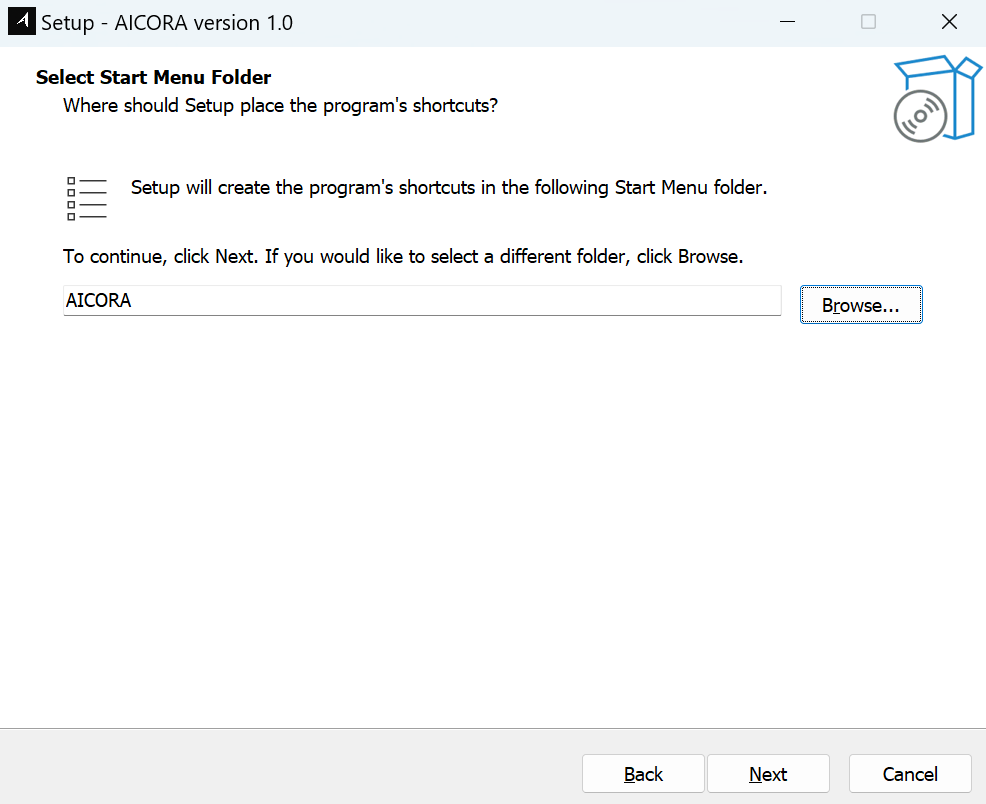
3. **Select Start Menu Folder:** This step creates a shortcut in your Windows Start Menu for easy access. You can leave the default setting (AICORA) and simply click **Next**.
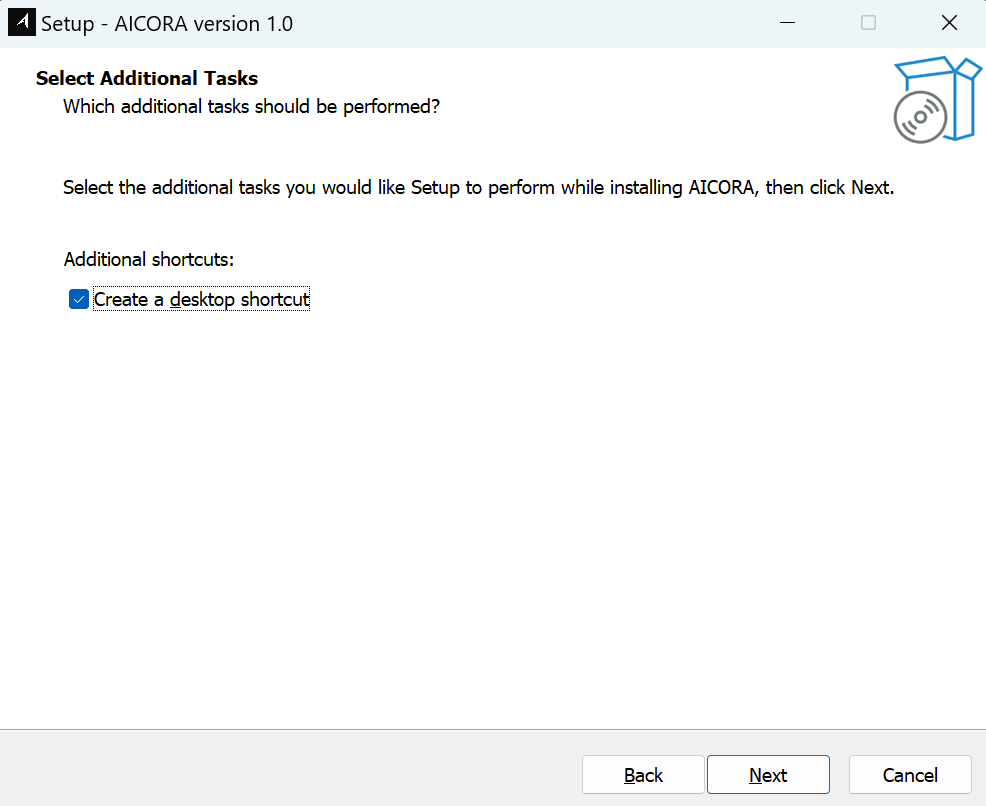
4. **Select Additional Tasks:** Here, you have the option to create a desktop shortcut. We recommend keeping **Create a desktop shortcut** checked for convenience. Click **Next**.
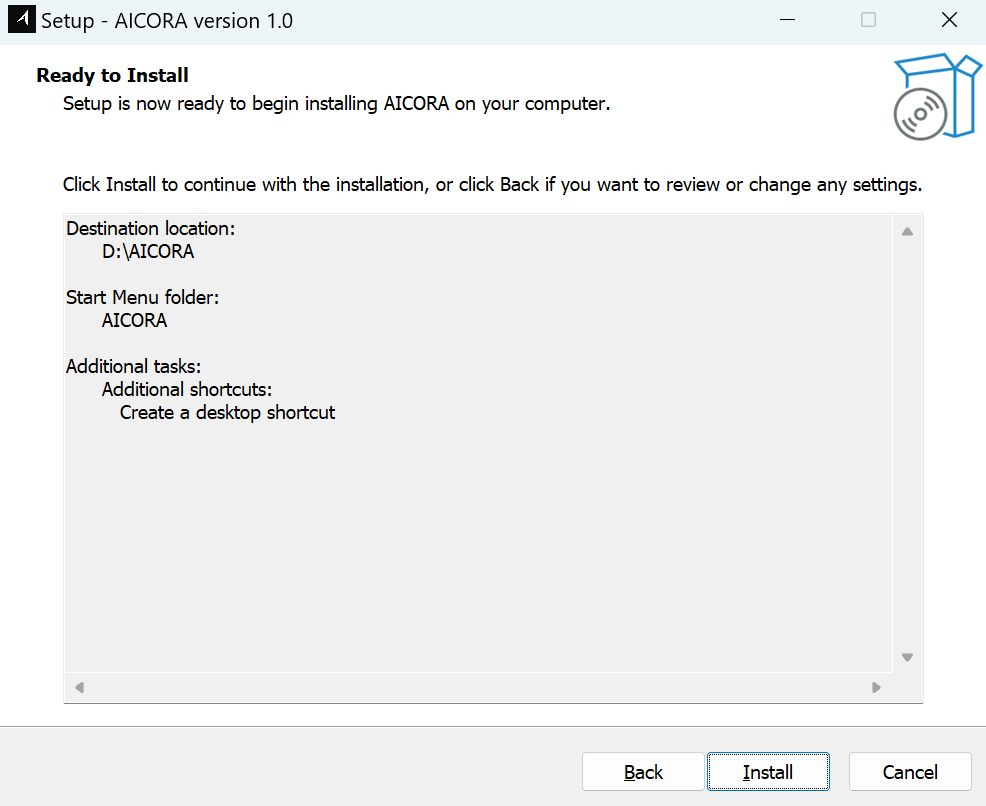
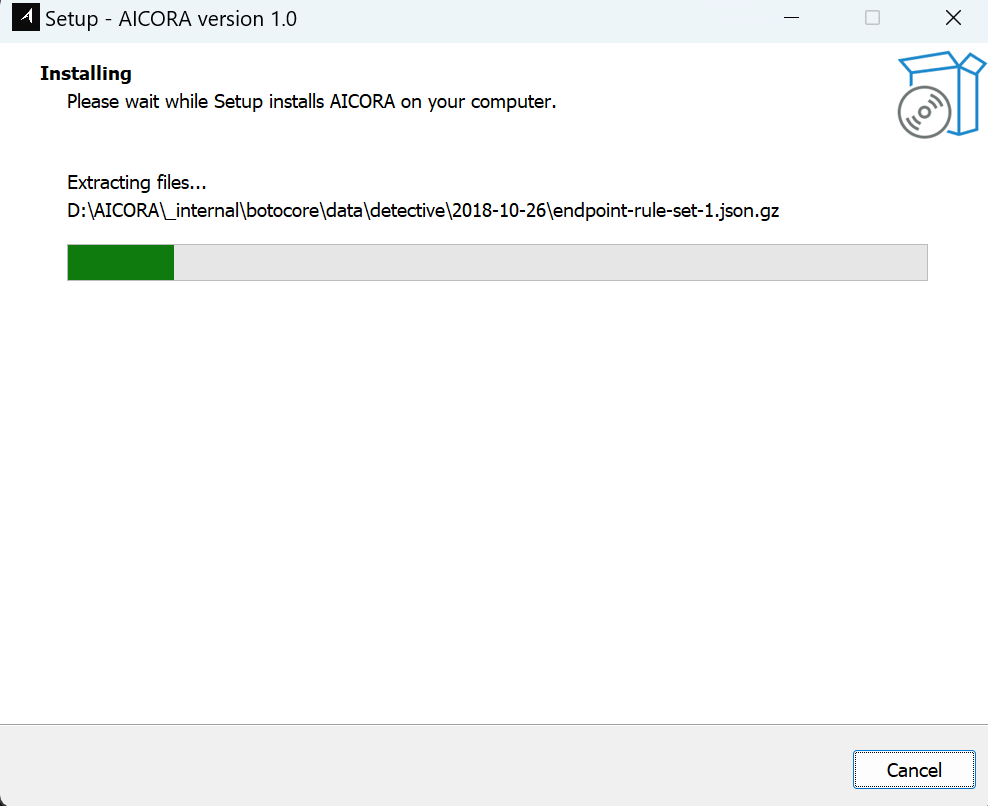
5. **Ready to Install:** The installer will show you a summary of your selected settings. If everything looks correct, click the **Install** button to begin the file extraction and installation.
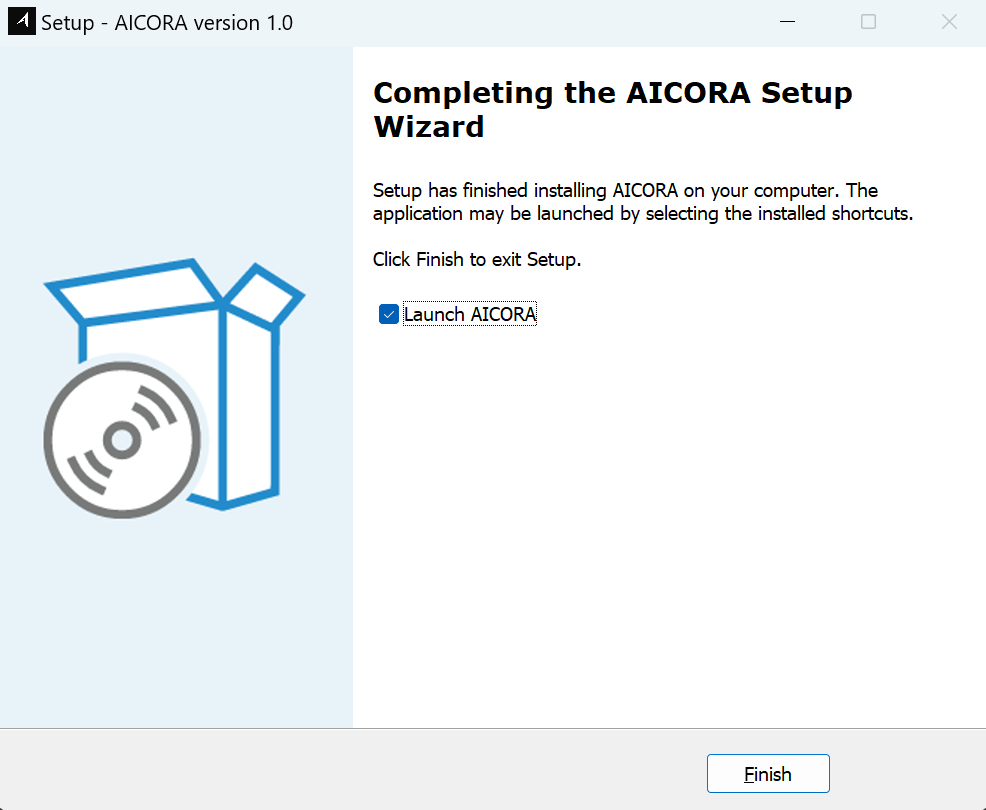
After a few moments, the installation will be complete.
***
## **Step 3: Understanding the AICORA Folder**
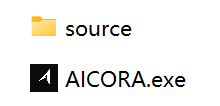
Once the installation is finished, you can navigate to the folder where you installed AICORA (e.g., D:\AICORA). Inside, you will see several files and folders. Here’s a quick explanation of what they are so you know what you're looking at:
* **AICORA.exe**: **This is the main application.** This is the file you will double-click to launch the AICORA client. The desktop and Start Menu shortcuts will point to this file.
* **source**: This folder is where AICORA stores important assets and, most importantly, where the **output from the Telegram Spider will be saved** (source/spider\_output). You'll interact with this folder when using generated scripts.
And with that, AICORA is fully installed! \
In the next section, we'll cover your[ **First Login and The Free Tier**](https://app.gitbook.com/o/sUotlRMai9v5aBsWFpyP/s/WILh96voiFpVYdAmSQQw/).